
See beautiful inspirations from decorated nails and colorful for the 2024 Brazilian Carnival, with photos and tutorials.
You will see ideas of nails for carnival:
👉 Colorful
👉 Brilliant
👉 With Glitter
👉 With Rhinestones
👉 Gradient
👉 Frenchies
👉 Stripes
👉 Geometric Shapes
👉 Mandalas
Nails that capture the essence of carnival
With the arrival of Carnival, there is an explosion of colors, brightness, celebration and joy.
'We brought 8 nail models for you to get inspired and stand out from the crowd'
Put on your costume, choose the perfect nail polish and enjoy carnival!
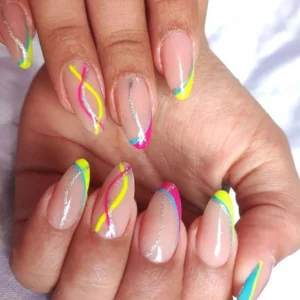
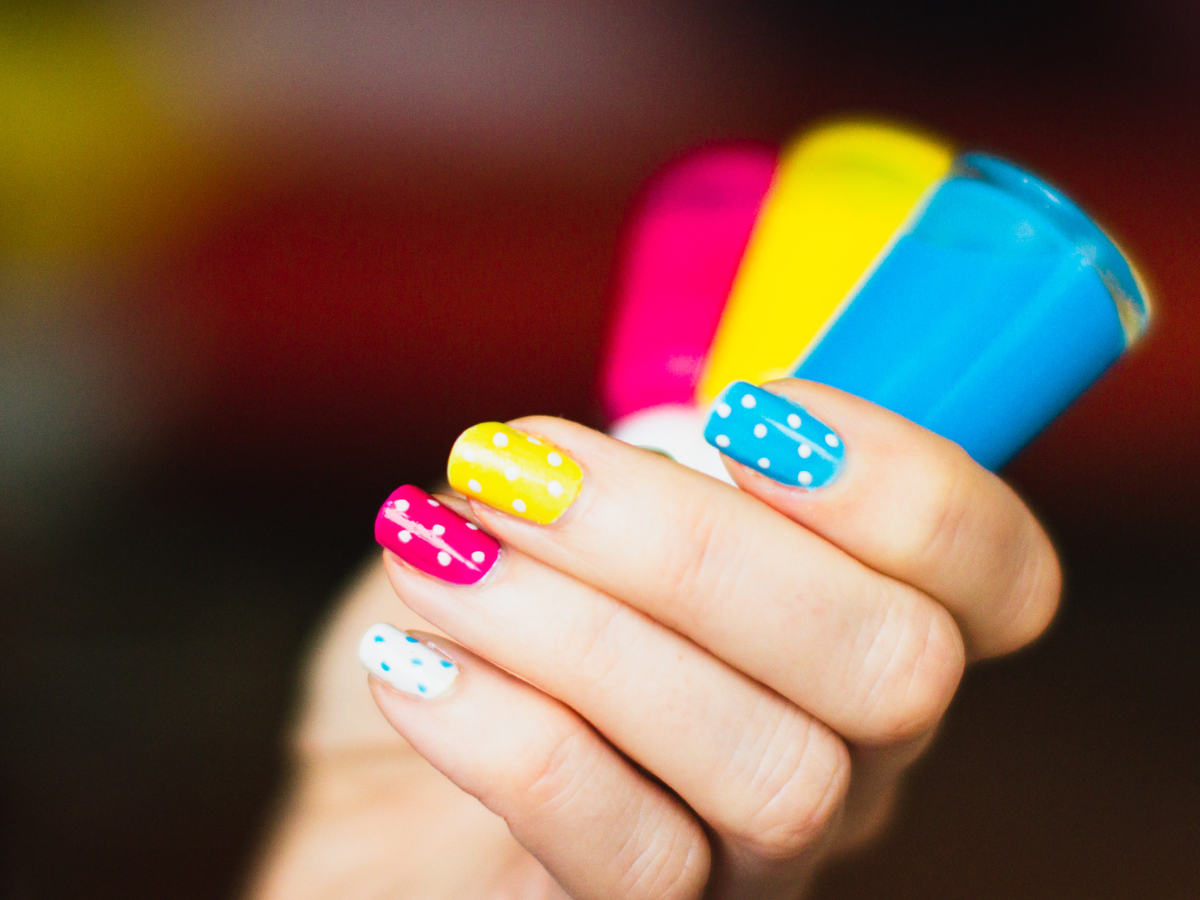
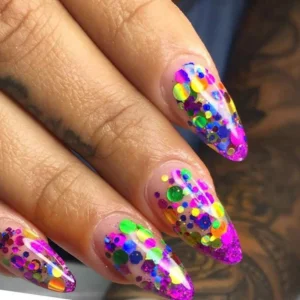
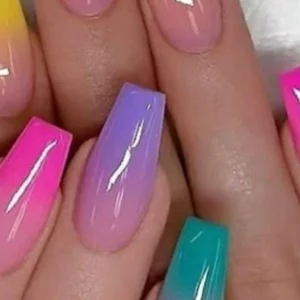
Colorful
Here you learn not just one but 3 models of colored nails and very fun for carnival, with all the necessary steps and materials.
Colors are the hallmark of this party and, therefore, colorful nails could not be left out.
Dive into this world of colors, who knows, you might be inspired.
Jana Taffarel with video below

There is a tutorial for this photo:
Do this on a firm surface and use a thin nail brush for the figures.
Use the colors of your choice and finish with extra shine.
Share
Through the fixed buttons on the screen
⬇️
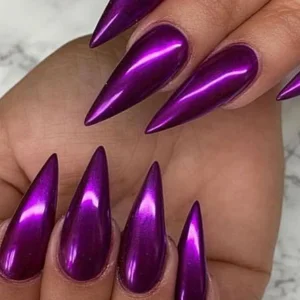
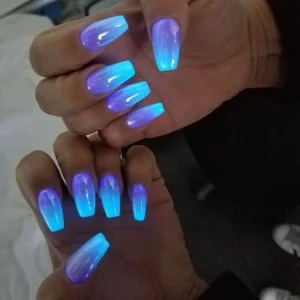
Brilliant
Metallics are always in fashion, especially during festive seasons, so go wild with chrome nail polishes, shiny papers and metallic colors.
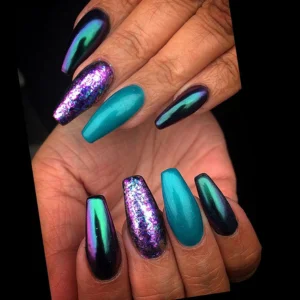
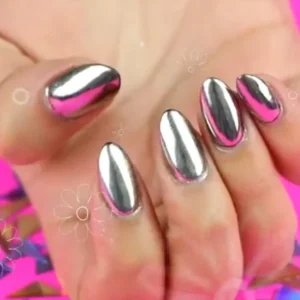
This mirrored effect, besides being super different, is very simple to do, just use a specific powder, also easy to find in cosmetics stores.
However, it is important that the powder is applied over a base coat or nail polish, otherwise it will not work.


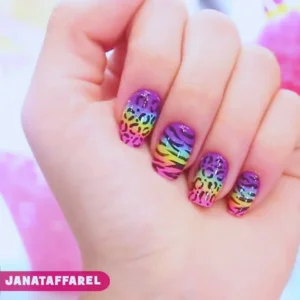
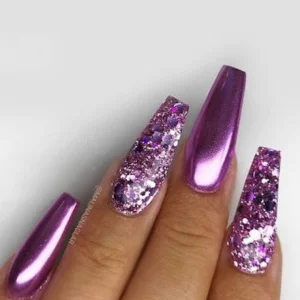
Glitter
Glitter nail polishes will definitely never go out of style, no matter the celebration.
However, during festive times, the shine comes in full force, and carnival is the shine itself manifested.


Take advantage of this time to throw yourself into glitter and shine brighter than the sun, there's never too much shine during Carnival!
Choose the glitter you like the most, create gradients with different colors on a sponge and lightly stamp your nail.
Choose the glitter you like the most, create gradients with different colors on a sponge and lightly stamp your nail.
Don't stamp too many times in a row to avoid ruining the enamel and finish with extra shine.
Share
Through the fixed buttons on the screen
⬇️
Rhinestones
Rhinestones are extremely eclectic stones that can make your nails delicate or more vibrant.
They give that final touch that your art sometimes lacks.
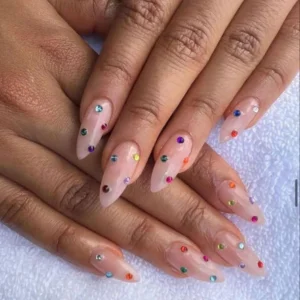


This nail polish is simple, just choose the nail polish that will be used as a base, and then glue the stones with the help of a toothpick and top coat.
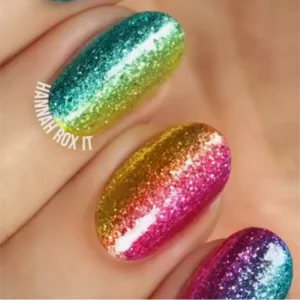
Gradient
Another option is the gradient, which is very versatile as it can be done with different shades of the same color or different colors.
Furthermore, it also avoids the most expected nails, such as colorful and glittery ones.
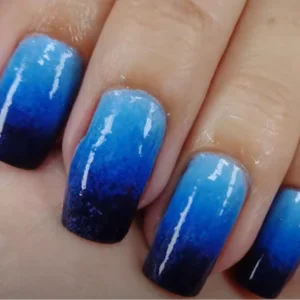
Natalia Caetano Video below
In this tutorial, blue was the chosen shade and its nuances. The amount of colors will depend on the size of your nail or the result you want to achieve.
It is important that the nail polish used as a base is dry before doing the gradient so as not to smudge the polish.
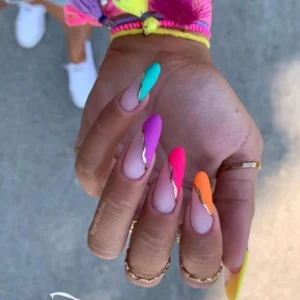
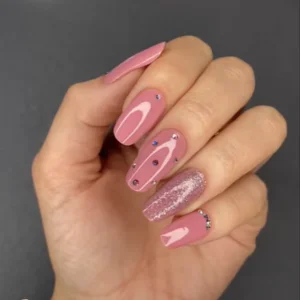
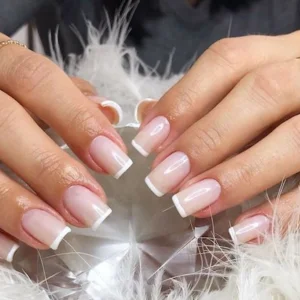
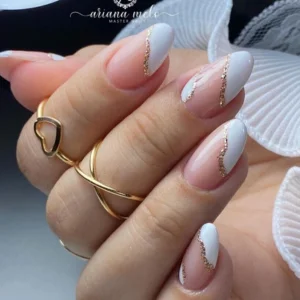
Frenchies
The French manicure is a style that suits any occasion and nail shape, being adaptable in colors, models and textures.
The white version is classic, but it can also be colored, metallic, with stickers and jewels.
With so many options, it’s hard to choose just one, but here we’ll make it easier.
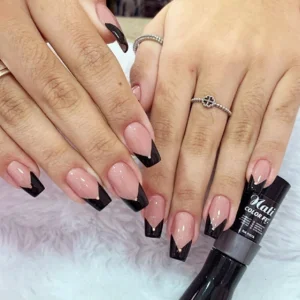
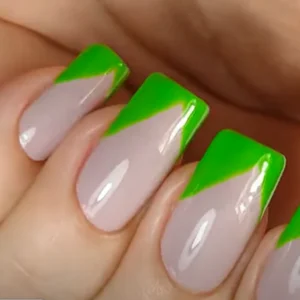
We have put together a tutorial for a neon green French manicure, which is perfect for Carnival. Even better, in this video, there is another option for colorful French manicures. It's up to you to choose the one that will accompany you in the parades.
The bow tie is a variation of the transversal French manicure, and the process is basically the same as the common French manicure, the only difference is the direction of the enamel and the colors.
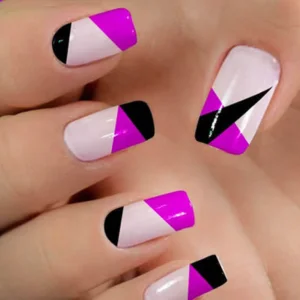
Stripes
Stripes are very versatile alternatives due to their different color combinations and directions, which can be vertical, horizontal, transversal and checkered.


A very simple model to make, with vertical stripes and a brush to nail art. It is interesting that the white polish is applied first, so that it dries before the stripes are made.
Geometric Shapes
Another inspiration that always returns to fashion are geometric shapes, a variation of stripes that also combine versatility and style.


Another versatile tutorial, where the colors can be adapted to the occasion and personal taste.
In addition to the geometric transversal shape, we have glitter, a perfect combination for carnival.
And always wait for the base polish to dry before applying the next layers, to ensure a perfect polish.
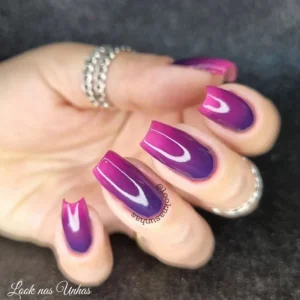
Mandalas
This is an unusual and far from basic choice. Although its meaning is more spiritual, the mandala can be a great alternative for Carnival, with its strong and striking colors, it will undoubtedly make you stand out from the crowd.


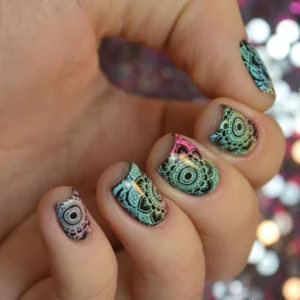

Aline Makelyne tutorial below
This model requires a little more skill, so it should be done calmly.
Use a nail brush and fabric paint for the drawing. The paint has greater pigmentation and will make drawing easier.
Finish with extra shine.
Tips for a perfect result regardless of your style
Carnival is a time for fun, so take advantage of it to put your skills into practice as a nail designer.
But first, check out these glitter tips, or rather, gold tips, which will really help with your nail polish.
Take care of the health of your nails: Shine also comes from within and therefore, stay healthy along with your nails.
Take some time just to do your nails: Some arts require greater skills and time to be done, so set aside some time in your day to do it calmly and without interruptions.
Do your nails at a table: Straight and firm surfaces will provide more stability when glazing and drawing, ensuring a better result.
Regardless of your style, these tips are the key to a perfect result.
Rock with confidence, celebrating Carnival with a touch of personal glamour and beautiful decorated nails!
Want to know what your nail polish looks like before applying it?
See here…